
Understanding the Basics of Picture Hanging
Picture hanging is an art in itself, combining aesthetics with functionality. It varies from simple adornments to complex arrangements that create an entire atmosphere within a space. Getting the correct picture hanging technique not only enhances the beauty of your artwork but can also establish a mood and defined aesthetic within your home. Whether you’re a novice or a seasoned home decorator, mastering the nuances of picture hanging will elevate your interior design game.
Essential Tools for Picture Hanging
Before taking a step to decorate your walls, gather the essential tools that will aid you in achieving a seamless picture hanging experience.
- Measuring Tape: Essential for ensuring your artwork is centered and at the right height.
- Pencil: Ideal for marking the spots on the wall without causing damage.
- Level: A must-have for ensuring that your artwork is hung straight.
- Stud Finder: Useful for finding stable points in the wall to secure heavier pieces.
- Hammer and Nails: Basic tools needed for most picture hanging jobs.
Types of Picture Hangers and Their Uses
Understanding the various types of picture hangers and their specific uses can significantly affect the safety and aesthetics of your display. Here are some common options:
- Nail and Picture Hook: These are ideal for lightweight frames and are easy to install.
- Command Strips: Great for rented spaces as they leave no marks and can hold moderate weight.
- Screws and Wall Anchors: Perfect for heavier pieces, especially sturdy frames that require more security.
- Picture Rail Hooks: Allow for quick changes without damaging walls, ideal for gallery setups.
- Wire Hangers: Ideal for framed artwork to create a more flexible and adjustable hanging method.
Measuring and Planning Your Layout
Effective planning is crucial for a polished look. Begin by determining the wall space available and imagining the layout before committing to any hanging.
Here’s a simple process to follow:
- Choose a focal point: Start with the center of the wall or above a piece of furniture.
- Measure and mark: Use the measuring tape to mark where each piece will be hung.
- Consider spacing: Spacing between pieces should ideally be 2-5 inches for a cohesive look.
- Use templates: Cut out paper templates to visualize placement before hanging.
Common Challenges in Picture Hanging
Even with the right tools and planning, challenges can arise when hanging artwork. Addressing common issues head-on will ensure you’re prepared to achieve perfect arrangements, regardless of the obstacles.
Dealing with Uneven Walls
Uneven walls can pose a significant challenge when hanging pictures. To manage this, consider using adjustable hanging systems that allow for minor level adjustments. Additionally, installing a ledge or picture rail can help avoid this issue altogether, allowing for an adaptable display.
Choosing the Right Height for Display
Finding the optimal height for displaying your artwork is vital for achieving a clean and professional look. A standard guideline is to hang artwork at eye level, approximately 57-60 inches from the floor to the center of the artwork. However, consider the furniture placement for proper alignment that feels natural and balanced.
Preventing Damage to Walls
Protecting your walls is crucial during the picture hanging process. To prevent unsightly holes and marks, utilize wall-friendly hanging solutions like adhesive hooks or command strips. When using nails or screws, make sure to locate the studs for maximum stability.
Creative Picture Hanging Techniques
Exploring creative techniques can transform how artwork is displayed in your home, offering a dynamic flair that captivates viewers.
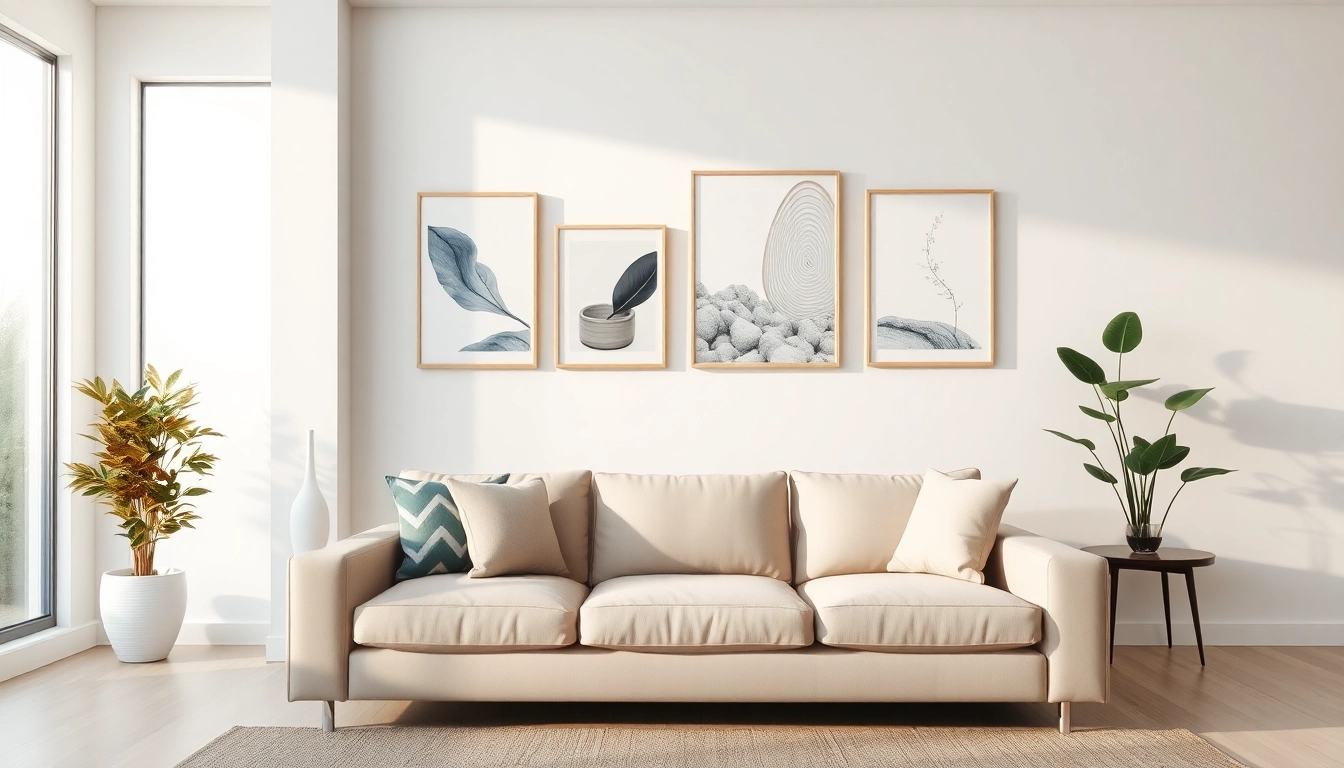
Gallery Wall Ideas for Stunning Displays
A gallery wall allows for the eclectic display of various art pieces, also conveying a story. Mix dimensions and styles for visual interest. Create a symmetry with frames of varying sizes or a consistent theme for cohesion. Planning with mock-ups can assist in realizing the perfect look before hammering anything into your wall.
Incorporating Mixed Media in Art Arrangements
Don’t shy away from creativity; blend different mediums—framed prints with tapestries or shelves with sculpture pieces can offer texture and depth. This technique promotes intrigue, allowing viewers to engage with your art at different levels.
Using Lighting to Highlight Your Art
Proper lighting can make a significant difference in how artwork is perceived. Consider utilizing spotlights, wall sconces, or LED strips to create an ambiance that enhances the visual appeal of your pictures. Avoid direct harsh lighting that can distort colors and details; softer, diffused lighting typically works best.
Maintenance and Care for Your Artworks
Once your artwork is beautifully displayed, maintaining the integrity and condition of your pieces is essential. Proper care will extend the life of your investment.
Cleaning and Preserving Your Pieces
Regular cleaning helps to preserve the vibrancy of your artwork. Dust frames with a soft, dry cloth, and for glass surfaces, a gentle glass cleaner will suffice. Always ensure artworks are kept out of direct sunlight to minimize fading over time.
Ensuring Stability and Security of Your Artwork
For larger or heavier pieces, ensure stability by using appropriate picture hangers and checking for secure installation. Consider employing wall anchors for enhanced grip if you hang items on drywall. Regularly check for any signs of movement or dislodgement from the wall.
Seasonal Adjustments for Your Displays
Art exhibits don’t have to be permanent fixtures. Consider changing your displays seasonally for a refreshing home environment. Swap pieces according to holidays, themes, or seasons, offering a fresh take on your gallery wall throughout the year.
Conclusion and Best Practices for Picture Hanging
In summary, precise planning and execution can make the picture hanging process a gratifying experience. By embracing the tools available, understanding your wall dynamics, and implementing creative techniques, you can achieve stunning displays that elevate your home’s aesthetics.
Recap of Key Points for Successful Hanging
Always gather the right tools, measure properly, choose the correct hanging methods according to weight and wall type, and maintain your artwork regularly. Remember to experiment with creative layouts and consistent maintenance.
Final Tips for Enhancing Your Home’s Aesthetics
Art is a reflection of personality and taste. By curating a thoughtful display in accordance with these best practices and remaining flexible to change, you personalize your space and create a welcoming environment for both residents and guests.
FAQs on Picture Hanging Techniques and Trends
1. What is the best height to hang a picture?
Ideally, hang pictures at eye level, which is about 57-60 inches from the floor to the center of the art piece.
2. How do I avoid making too many holes in my walls?
Use template hanging methods and avoid heavy pieces unless using the proper wall anchors or toggle bolts.
3. How can I create a gallery wall?
Mix and match frame styles and sizes, laying them out on the floor first before hanging for the best layout.
4. What type of hangers are best for heavy frames?
Screws and wall anchors are ideal for heavier pieces, providing stability and security.
5. How often should I clean my artwork?
Dust frames and surfaces regularly. Deep cleaning may be done every few months, depending on location and exposure.